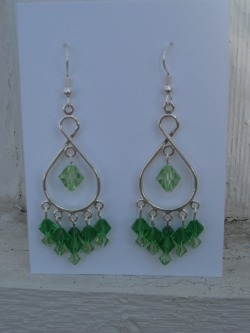
Bridesmaid Earrings
As part of my gift to my girls, I wanted to make them their jewelry to wear for the big day. Their dresses have square necklines, so I didn't really want to do a necklace. To me, that meant earrings, and earrings with enough oomph to be the only jewelry the girls are wearing.
I had never made earrings before, so I scoured the web A LOT before I started. I still didn't really know what to do, but I knew I wanted green swarovski crystals, so I went to Michael's and looked for a loooooong time in the beading section.
I ended up buying:
*Earring hooks
*Figure-8 findings, with one hole in the middle & five on the bottom.
*Headpins. I bought 3/4, but I STRONGLY recommend you buy longer ones. These were really short & hard to work with.
*Crystazzi brand 4&6mm bicone mix in "Green With Envy". I needed one pack per pair.
*Jolee's Jewels 4mm bicone, and 8mm bicone, one pack each, both in "Peridot".
Also needed:
*Round-nose pliers
*Chain-nose (or really any other kind) of pliers
*Wire cutters
To make them, I decided on my pattern, then strung the crystals onto the headpins. Once the crystals are on, bend the headpin about 80 degrees. Then, going the opposite direction, bend the wire around your round pliers (grabbing it with your other pliers). Move your round pliers around until you are just using them to complete an "eye". If needed, snip any extra wire. Open the eye slightly, put through the hole of your figure-8 finding, then close the eye. It works best to start with the middle hole & work your way out. Once all of the crystals are attached, open the eye of the earring hook finding, and slip the figure-8 onto it. Close the eye. You're done!
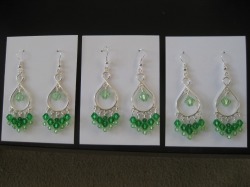
I also cut a piece of cardstock & poked holes through with a large needle to make a card to hook them onto.
I had never made earrings before, so I scoured the web A LOT before I started. I still didn't really know what to do, but I knew I wanted green swarovski crystals, so I went to Michael's and looked for a loooooong time in the beading section.
I ended up buying:
*Earring hooks
*Figure-8 findings, with one hole in the middle & five on the bottom.
*Headpins. I bought 3/4, but I STRONGLY recommend you buy longer ones. These were really short & hard to work with.
*Crystazzi brand 4&6mm bicone mix in "Green With Envy". I needed one pack per pair.
*Jolee's Jewels 4mm bicone, and 8mm bicone, one pack each, both in "Peridot".
Also needed:
*Round-nose pliers
*Chain-nose (or really any other kind) of pliers
*Wire cutters
To make them, I decided on my pattern, then strung the crystals onto the headpins. Once the crystals are on, bend the headpin about 80 degrees. Then, going the opposite direction, bend the wire around your round pliers (grabbing it with your other pliers). Move your round pliers around until you are just using them to complete an "eye". If needed, snip any extra wire. Open the eye slightly, put through the hole of your figure-8 finding, then close the eye. It works best to start with the middle hole & work your way out. Once all of the crystals are attached, open the eye of the earring hook finding, and slip the figure-8 onto it. Close the eye. You're done!
I also cut a piece of cardstock & poked holes through with a large needle to make a card to hook them onto.
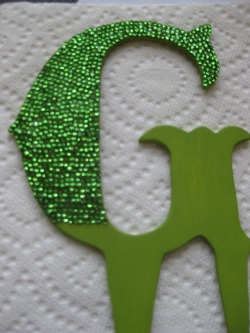
Cake Topper
I originally saw a lot of brides on theknot's DIY board making these beautiful monogrammed cake toppers, and I had to have one. The word on the street (er... board...) was that a crafty guy could craft the letter for you, then you could bling it out yourself for much less money than buying one already done. Cool. Except I kind of thought that $14 was a lot for a little wooden letter. Then I had a lightbulb moment. Duh! My dad owns every tool known to man!
So, with a $2 piece of wood from Michael's, and my dad's handiness, I ended up with a wooden "G" in exactly the font I wanted. He even puttied and sanded it for me. What a guy. Anyway, here's how to make it, regardless of where you get the letter from.
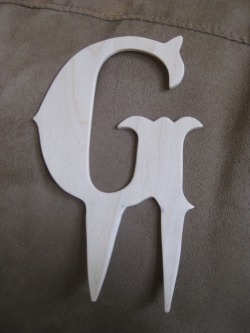
Start with a letter in the font of your choice (mine is called 'Anderson Four Feathers' and I got it for free on dafont.com).
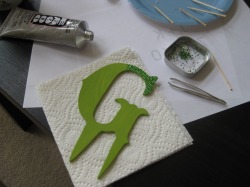
Gather all of your supplies & start gluing! I used E6000 glue, toothpicks (to spread it), tweezers, and 6ss rhinestones purchased from http://stores.ebay.com/RHINESTONES-AND-CRAFTS.
Have patience! This part takes a long time! Put on some favorite DVDs and open the windows (because the glue is really smelly).
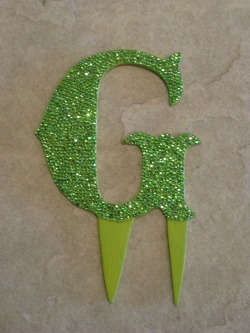
Aaaaaand done! Now put it in a safe place until the wedding.
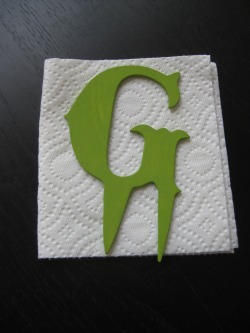
Paint the letter in a shade similar to that of your rhinestones. Don't forget the sides and back. I used regular acrylic craft paint. It took about 3 coats.
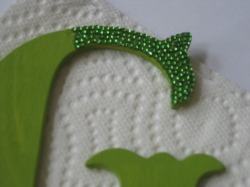
E6000 dries fast. I spread a little at a time with a toothpick, then placed the rhinestones with my tweezers.
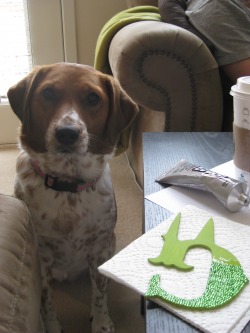
It helped me to have a cute doggie and my favorite Starbucks beverage nearby for assitance...
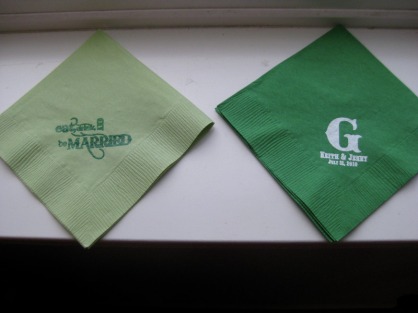
Cocktail Napkins
I spend too much time on the Knot. Of course, as soon as I saw monogrammed cocktail napkins, I wanted them. I didn't take a lot of pictures during the DIY process, but it was very simple. You will need:
*Stamps (I got mine from Impress Rubber Stamps, they are great!)
*Napkins (cheap from a party store)
*A pigment-based ink of your choice. I thought the "Color Box" ones worked the best. Don't use dye-based ink, it dries too fast.
*A heat-embossing gun
*Embossing powder
*A dryer sheet
Rub the napkin with a dryer sheet (this keeps excess powder from sticking where it isn't supposed to.) Stamp your image onto the napkin. Quickly pour embossing powder over the entire stamped area. Shake off excess. I used a paper I'd folded in half, then unfolded (so it had a gutter) to catch the powder & pour it easily back into the jar. Turn on your heat gun & let it warm up. Blast until all of the powder has melted. It is really obvious when it melts, so you'll know. Keep the gun moving so that you don't burn your napkins!
That's it. I found that I could stamp/powder a bunch, then heat them all in a group so that I didn't have to keep turning the gun on and off.
Day-of Hoodie
After viewing countless "bride" hoodies and tank tops online, and decided I needed one for myself. The hoodie was preferable - zips all the way off, no going over the head, messing up hair & makeup. I didn't want to pay $60+ for it though. And, while I'm really excited about my wedding, I didn't feel like I needed to be branded "BRIDE". I mean, on the big day, we'll all know that's me. =) I wanted something low-key, that I could wear while getting ready, and also on my honeymoon without feeling foolish. So of course, I did it myself.
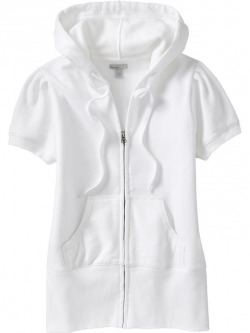
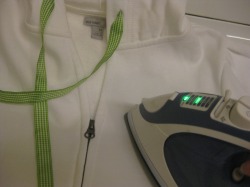
Start with a plain, white, zip-up hoodie. I chose this short-sleeved one from Old Navy since my wedding is in the summer.
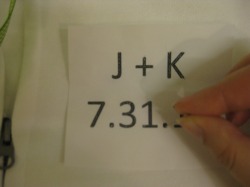
I used a pin to perforate my letters.
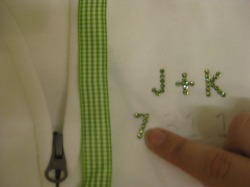
Once the pencil marks are on, you can start lining up your crystals. I just used my fingers, and did only one character (or only part of one) at a time.
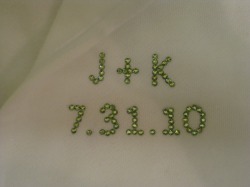
Voila! Custom 'blinged' getting ready hoodie! I also swapped out the drawstring it came with with a color-coordinating ribbon. To do this, I just tied the ribbon to the string & pulled the string all the way through.
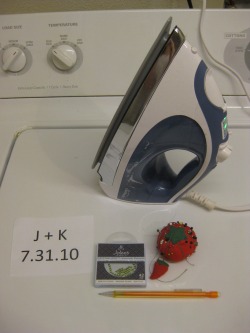
Assemble your tools: A printout of what you want it to say, a pin, pencil, swarovski hotfix crystals (I used 12ss peridot ones), and either an iron or a special hotfixer tool. You don't need the wash machine in the background. =)
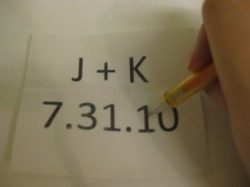
Then traced through the perforation with a pencil. I'd recommend pinning/taping your paper to your hoodie so it doesn't move. I though of this afterward, lol, and just held it with my other hand (when I wasn't taking pictures).
With your iron on medium heat, put it right on top of the crystals for 10-15 seconds. Repeat until all letters/numbers are done.
